Using the web interface
Connect to the RAPU via the WiFi (see Connecting to WiFi) or wired Ethernet (see Connecting to wired Ethernet). Also verify that you have connected the device’s power (Connecting the power supply), speakers (Connecting your speakers), and your servo/motor/lighting devices (Connecting your devices).
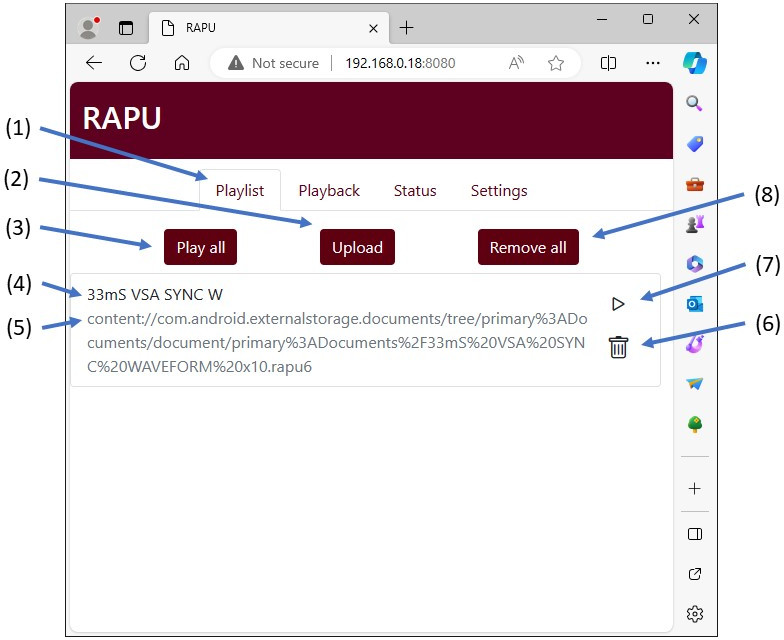
Uploading routines
On the Playlist tab (1), click Upload (2). Select the .rapu6 file you previously created (see Exporting routines). It can take several minutes to upload a large file, depending on the size and the connection bandwidth.
Once the routine is uploaded, the name (4) and upload URI (5) will be shown. You may upload more routines, as many as the SD card will hold.
Removing routines
To remove a single routine, click the trash icon (6). To remove all routines, click Remove all (8).
Playing routines
Click Play all to play all routines. Click the play icon (7) to play a single routine.
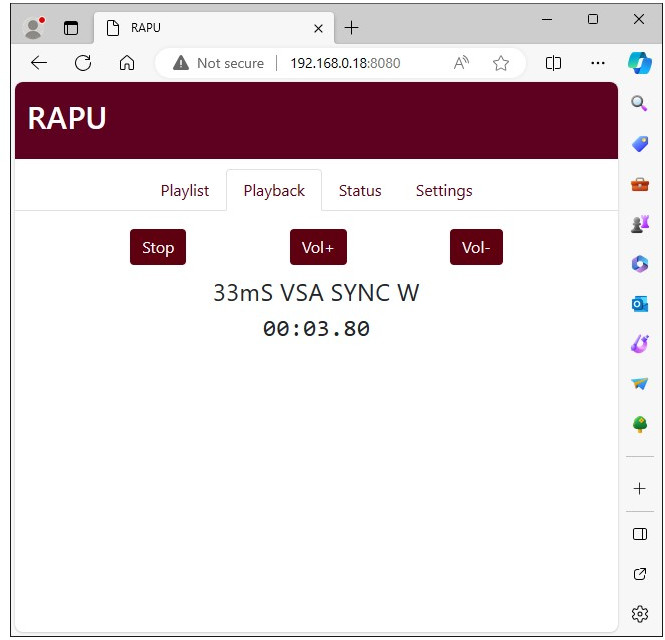
While a routine is playing, the Playback tab is automatically selected. You can Stop the routine or adjust the volume with Vol+ and Vol-.
Web error messages
Error messages are reported via pop-up notification. In the example below, the error shows usb device is not connected indicating that the USB device needs to be connected or is not recognized properly.

Hardware status
The Status tab shows various information about the RAPU’s current state. Most of this information will not be needed during regular operation, but may be requested by our technical support team.
The USB device status can be viewed by expanding the usb_hw list. A properly connected and recognized device will show usb ready in the first line, as shown below.

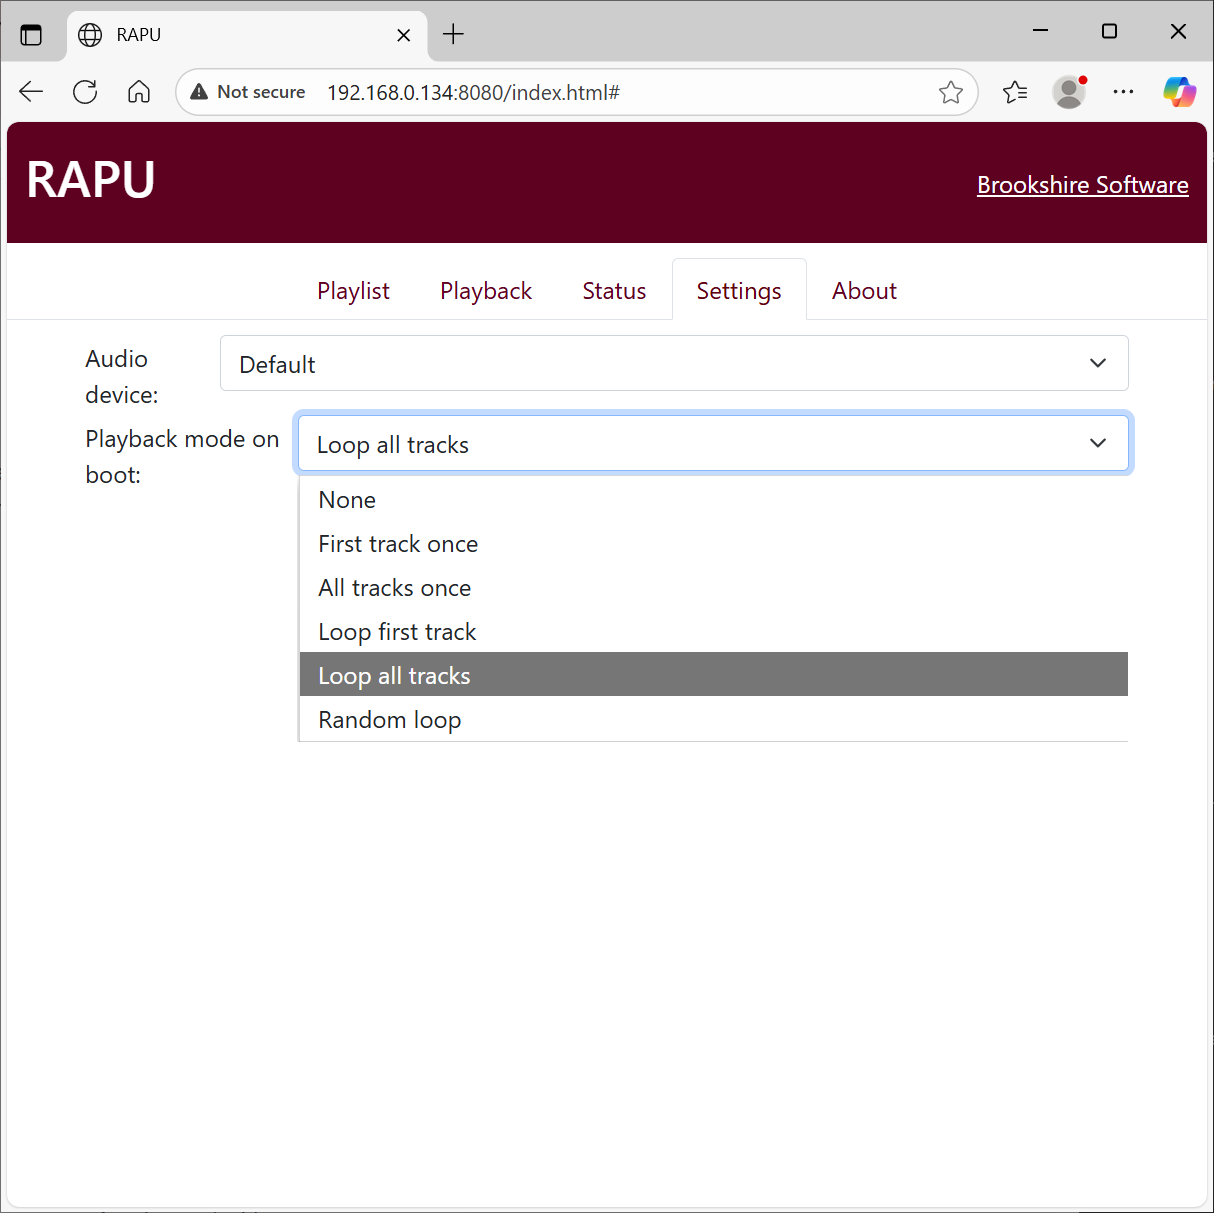
Device settings
The Settings tab allows modification of several system settings, including the playback mode on startup and the output audio device.
Other settings must be directly configured via the app (see Settings).
The Audio device describes the system device that will be used for audio output. For the RAPU device, the only option is built-in speaker which corresponds to the 3.5mm audio output jack.
The Playback mode on boot indicates the playback mode that will be used when the device starts up. This mode only applies when Start on boot is enabled (see Settings).