Media Views
Wave View
The wave view graphically displays the current wave or MP3 channel to ease in event synchronization. It is especially useful for lip sync.
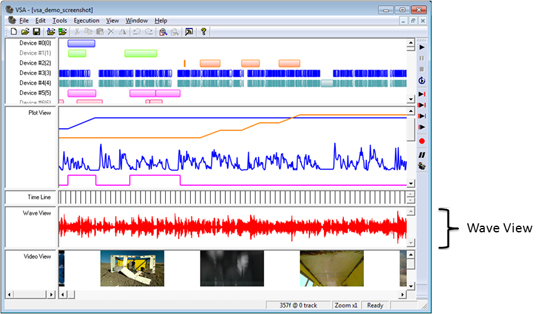
VSA will load the audio in the background while you continue to work; while the audio is loading, a gray bar will be shown. Only the audio channel selected in the Audio Settings dialog is displayed, but all sources and channels are played. See Choosing Audio Synchronization for more information about how VSA maintains device output timing.
Video View
The video view graphically displays the current video file to ease in event synchronization.
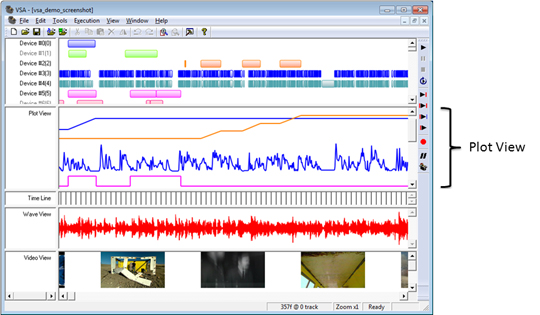
VSA will load the video in the background while you continue to work; while the audio is loading, a gray box will be shown. Only the video file selected in the Video Settings dialog is displayed, but all sources and channels are played.
Audio Settings
From the Tools > Settings... dialog, the audio files and output devices can be specified.
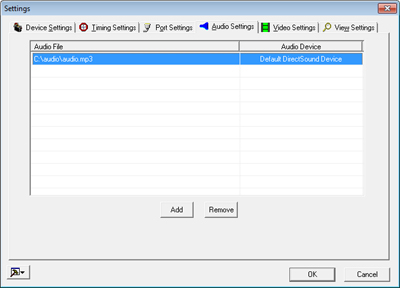
During playback, VSA will playback all the audio files synchronized within 10ms (however, the actual synchronization at the speakers may vary, depending on your audio hardware).
To add a new audio file, click Add and then click on the ... button to search for a file. If you move the routine to another directory or computer, you will need to reselect the correct audio file from this dialog.
Double click on a file name to edit it, or select the file name and click Remove to remove it.
Double click on the Audio Device column to select the desired audio output device. The devices listed in this column represent all compatible devices that VSA could find. If an audio device is not listed, it is either not installed properly or not supported by VSA. You can select any combination of, and can reuse, audio files and audio devices.
Video Settings
From the Tools > Settings... dialog, the video files and output devices can be specified.
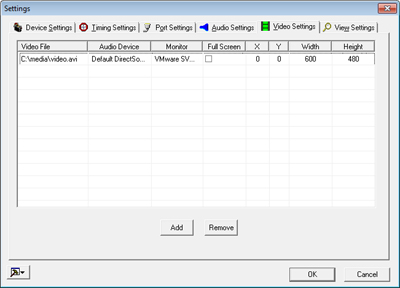
During playback, VSA will playback all the video files synchronized within 10ms (however, the actual synchronization may vary, depending on your video hardware). To add a new video file, click Add and then click on the ... button to search for a file. If you move the routine to another directory or computer, you will need to reselect the correct video file from this dialog. You can select any combination of, and can reuse, video files.
Double click on a file name to edit it, or select the file name and click Remove to remove it. Double click on the Audio Device column to select the desired audio output device. The devices listed in this column represent all compatible devices that VSA could find. If an audio device is not listed, it is either not installed properly or not supported by VSA.
To play the video in Full Screen mode, check the Full Screen check box and select the desired monitor. To play the video at a specific location on the screen at a certain size, select the monitor and the X, Y, Width and Height parameters. The devices listed in the Monitor column represent all the compatible monitors VSA could find. If a monitor is not listed, it is either not installed properly or not supported by VSA.
View Settings
From the Tools > Settings... dialog, the currently displayed audio/video files can be specified.
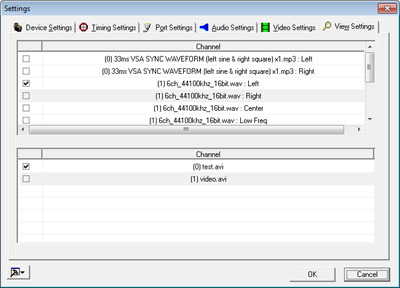
VSA will display the selected audio and video tracks. See Wave View and Video View for more details.